HOW TO USE STEP DRILL BIT ON METAL
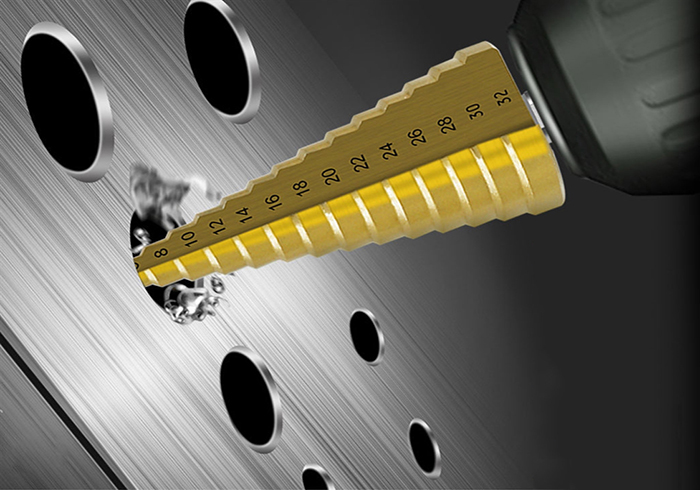
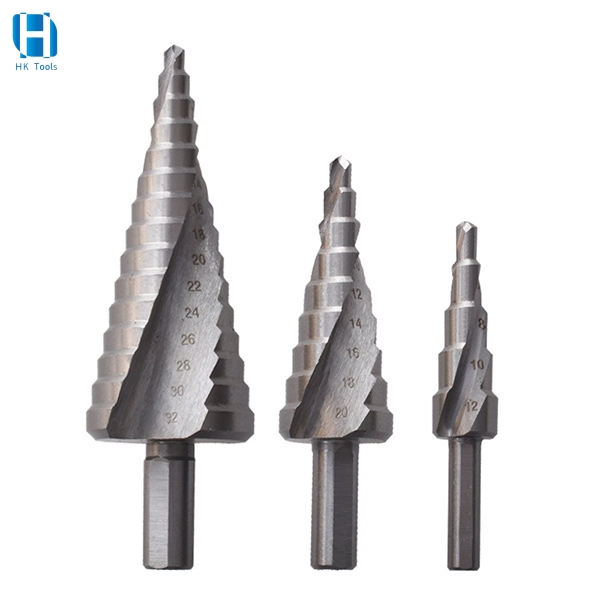
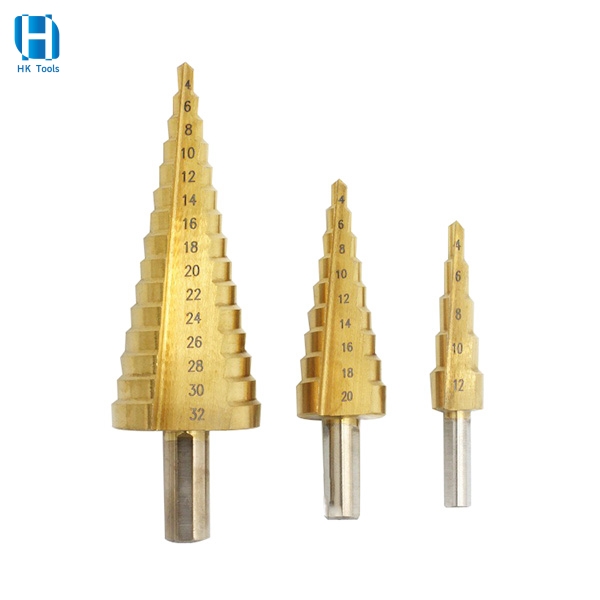
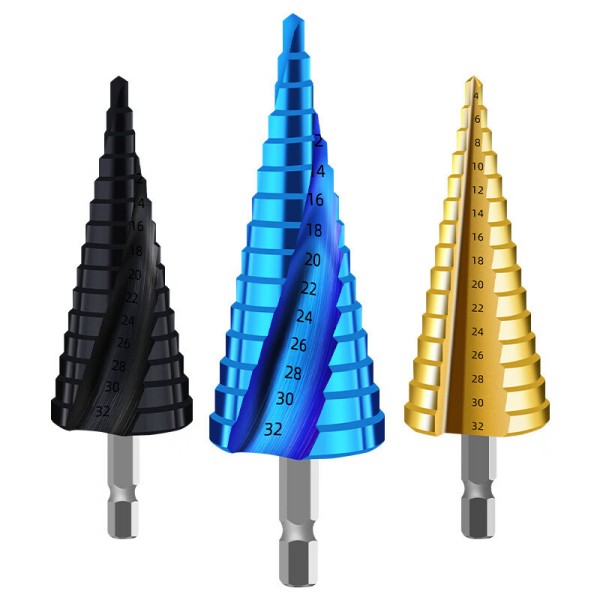
Drilling projects can sometimes get tricky, especially when drilling holes of different sizes. You have to constantly remove the various sized drill bits to match them to the hole you need for the job. This wastes valuable work time. With a step drill, drilling multiple sized holes in sheet metal becomes much easier. A step drill, more commonly known as a step drill bit or step drill bit, is a conical drill bit with gradually increasing diameters. A sharp groove on one side of the tool acts as a cutting edge, with multiple levels or steps that gradually increase in diameter from the tip to the end.
Safety is a primary concern when using power tools. So please take care to wear protective glasses, gloves, etc.
Once you have ensured that all necessary safety gear is in place, you can begin drilling with a step drill. A step drill can be used to create smooth, straight holes in a workpiece by cutting into the material with a straight edge.
1. Clamp the object. Before you begin the drilling process, use a clamp to hold the metal sheet in place to prevent it from slipping and rotating under the inward pressure of the step drill.
2. Make a mark in the center. When drilling with a step drill, use a center punch for precise results.
3. Add lubrication. When cutting metal, it is often recommended to use lubrication to prevent the drill from sticking. This is done to prevent the step drill from overheating and causing excessive drilling friction with the material. Before drilling, lubricate where the drill makes contact with the metal sheet.
4. Drill. Before connecting the power tool to the power source or battery, make sure the step drill shank is securely secured in the chuck. To start drilling a large hole, drill a pilot hole with a small step drill bit and then switch to a larger step drill bit (optional). Reduce the drilling speed and pressure as you get closer to the desired hole. When you reach the desired size, the hole should be chamfered by the next bevel. This will ensure a smooth surface.
5. Clean up the work area. Once the drilling is complete, remove the drill bit and clean it thoroughly to ensure no debris remains. You can also polish the drill bit before putting it away to ensure it lasts as long as possible.
Post time: Aug-11-2023


